Creating Mailboxes on LaunchMailbox
Prerequisites
Before creating mailboxes, ensure you have:
- Completed the Namecheap integration
- Registered at least one domain
Accessing the Mailbox Creation Interface
- Navigate to the "Mailboxes" section using the left menu
- For new users with no existing mailboxes:
- Look for the "Create a Mailbox" link in the center of the screen
- For users with existing mailboxes:
- Click the "Create a Mailbox" button in the top right corner of the mailbox list

Mailbox Limitations
⚠️ Important: Each sending domain is limited to a maximum of 10 mailboxes. This limitation is deliberately implemented to protect your domain reputation and ensure better email deliverability. Having too many mailboxes on a single domain can trigger spam filters and result in your emails being blocked.
Available Mailbox Creation Methods
LaunchMailbox offers three methods for creating mailboxes:
1. Single Mailbox Creation
Create individual mailboxes with custom details:
| Field | Description | Example |
|---|---|---|
| Person Name | Full name of the mailbox owner | John Doe |
| Mailbox Name | Username portion of the email address | john.doe |
| Sending Domain | Select from your registered domains | yourdomain.com |
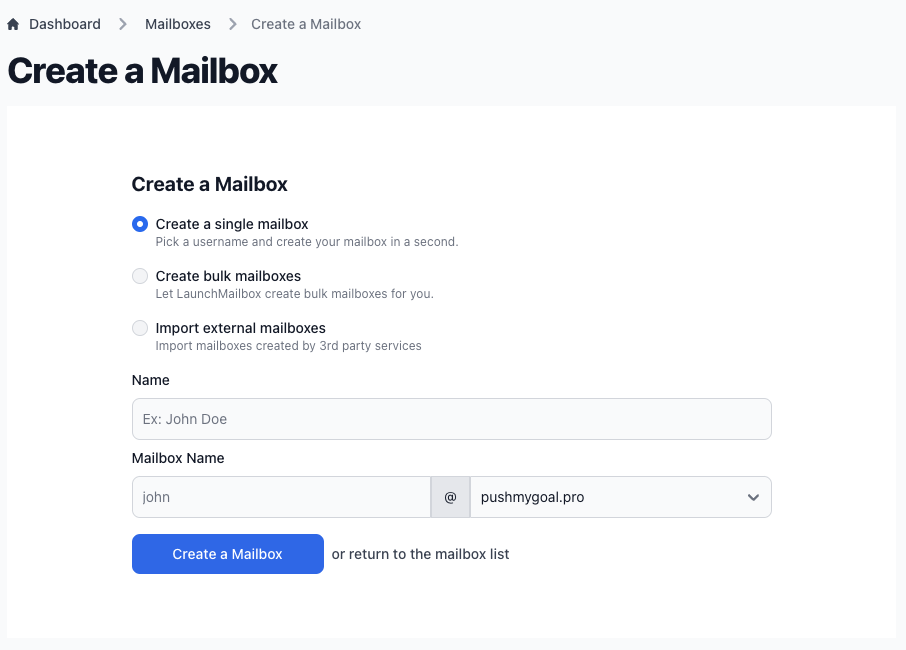
2. Bulk Mailbox Creation
Quickly generate multiple mailboxes:
- Select a sending domain from the available options
- Click the creation button
- LaunchMailbox automatically generates mailboxes with randomized information up to the maximum limit of 10 mailboxes per domain
💡 Pro Tip: Bulk creation is perfect when you need to quickly set up all available mailbox slots for a domain without manual configuration. Remember that you can always delete mailboxes later if you need to make changes.
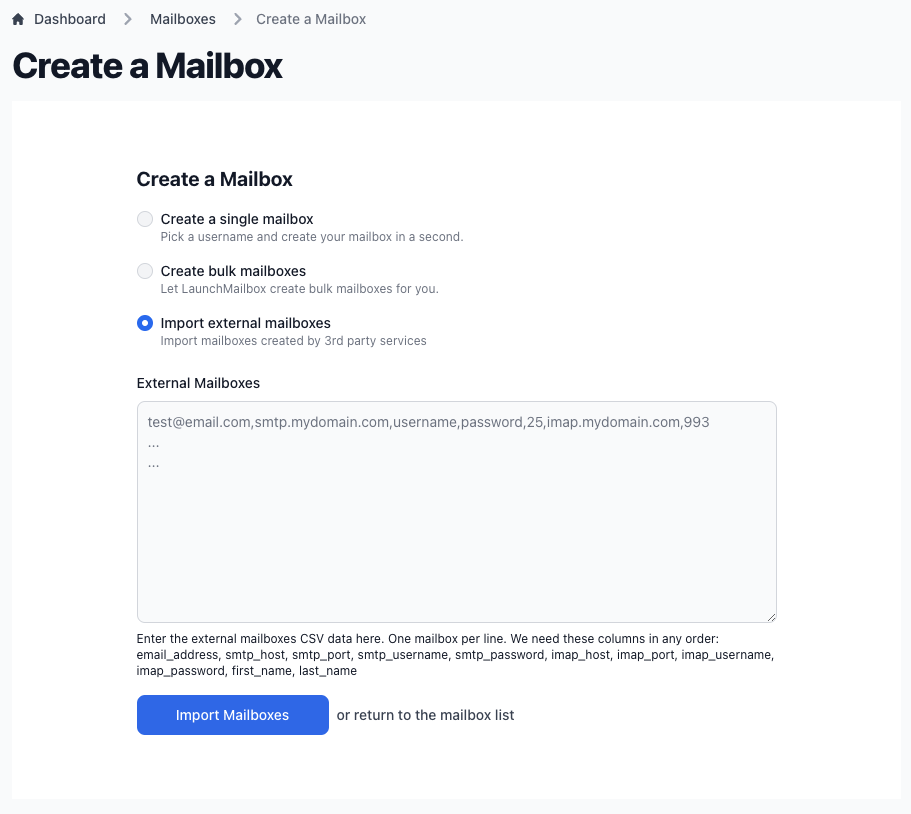
3. External Mailbox Import
Import existing mailboxes from other providers:
- Prepare your CSV file with the following required headers:
email_address, smtp_host, smtp_port, smtp_username, smtp_password, imap_host, imap_port, imap_username, imap_password, first_name, last_name
- Enter your mailbox data in CSV format
- Submit the import
⚠️ Important: Ensure your CSV file includes all required columns, even if some fields are empty. The header names must match exactly as shown above.
After Creation
Upon successful creation:
- For single and bulk mailboxes: The system automatically configures everything
- You'll be redirected to the mailbox list page
- All your mailboxes will be displayed with their status
Next Steps
Once your mailboxes are set up, you're ready to start creating and running email campaigns.